

Welcome to my Blog! In this blog, I’ll be talking about some really fun and useful art organizers for people who lose a lot of their art supplies, or like me, have them laying everywhere unorganized. I’m going to be doing four useful DIY organizers for your art supplies and I hope that it will be useful for you to be more organized. 👍
Art Supplies Organizer DIY #1(picture from Pinterest.)
 Okay, so this DIY is really easy to make and doesn’t take up that much time to assemble.And please be sure to have an adult with you if you are under the age of 10 because you’ll need to hot glue some things.
What you’ll need is…
- 6 or more tin cans(Clean with labels taken off)
- Wrapping paper
- Glue gun
- Washi tape or regular tape
- *Sharpie(optional)
What you do…
- First, you have to make sure that the cans are clean and the labels are taken off well.
- Then you take each can and wrap it with wrapping paper evenly, you then hot glue it together or tape it.
- Then you stack them how you want them to look like and hot glue them together like the picture above.
- (*This step is optional*) Take your sharpie and label the cans of the items you want to put in there.
- Finally, you let the hot glue dry and you have your art supplies organizer.
I think this is a really useful organizer and that it will help you be more organized. If you don’t want to use this idea just for art supplies you can, of course, use it for other things.
Art supplies Organizer DIY #2 Link

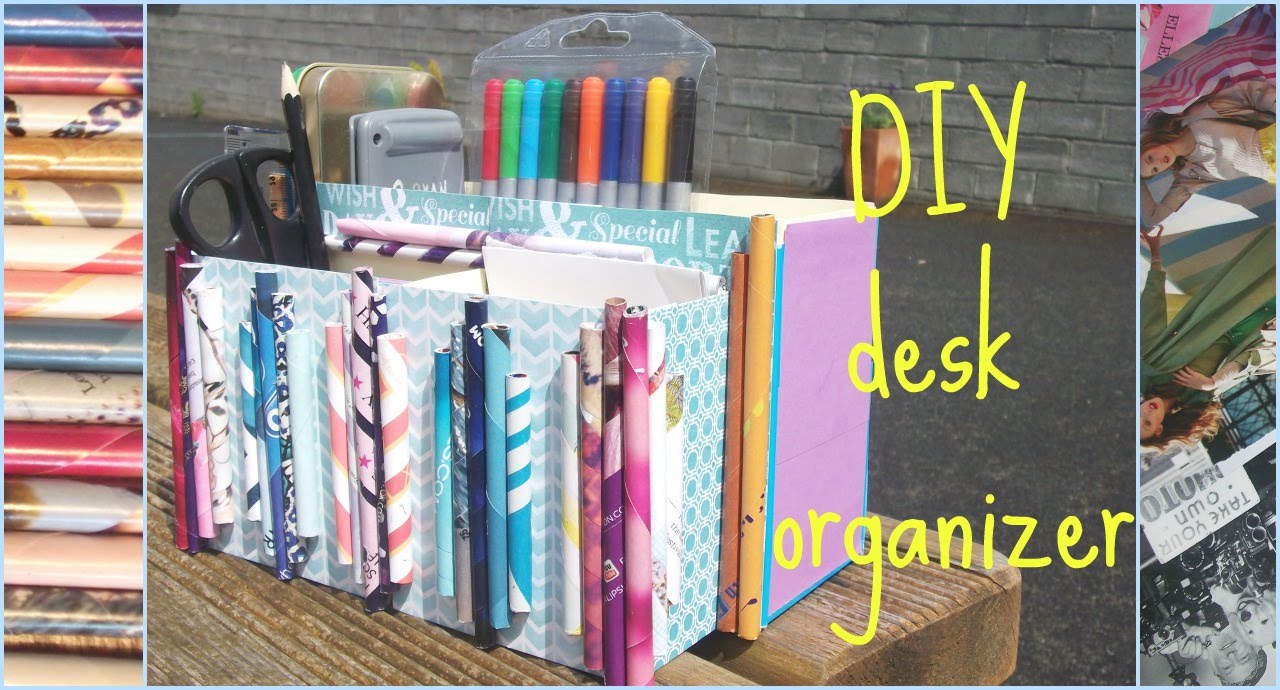
This DIY is super easy and will help you keep your pencils, pens, and markers in a nice and neat organized box. I chose to show you this because it is a really fast process to make this and it’s really easy.
What you’ll need…
- Box
- Wrapping paper
- Toilet paper rolls or rolled paper(about 18 or as many that can fit.)
- Sharpie
- *acrylic paint*
- *washi*
What to do…
- First, decorate your box with wrapping paper or you could paint it with acrylic paint or any paint.
- Then you put in the paper rolls and in order to know what you put in the rolls you would washi tape the edges or label it.
- Finally with the sharpie, label your box with any word that the box might be for like Art supplies.
This idea is very useful and so quick and easy to do and no safety hazards.
Art supplies Organizer DIY #3(picture from http://www.fabartdiy.com/diy-plastic-organizer-or-vase-with-iron/

This DIY is something that can be used for anything like how they used this for their bathroom and makeup but you could use it for anything.
What you need…
- Spray bottle
- iron(have parent/guardian do this if under the age of 13)
- Scissors(or Exacto knife if parent/guardian does it)
What to do…
- First, you need to use you Exacto knife to cut a few inches under the lid.
- Then, you use scissors to make it more even
- Now make sure you use the iron correctly and that it’s turned on.
- Take your sliced spray bottle and put the rims of the bottle against the iron and move it around for a while.
- Finally, you just put your supplies in the bottle.
Art supplies Organizer DIY # 4
Link to video
Please watch this video it’s really easy and really fun to use and can help a lot of people to organize their art supplies or your desk.
Thank you for reading my first blog and please like and follow for more things art.😀👍
~Elizabethart101❤

I like your blog and your DIY are pretty cool
LikeLike
I LOVE YOUR IDEAS, I will have to try them.
LikeLike